I DID IT.
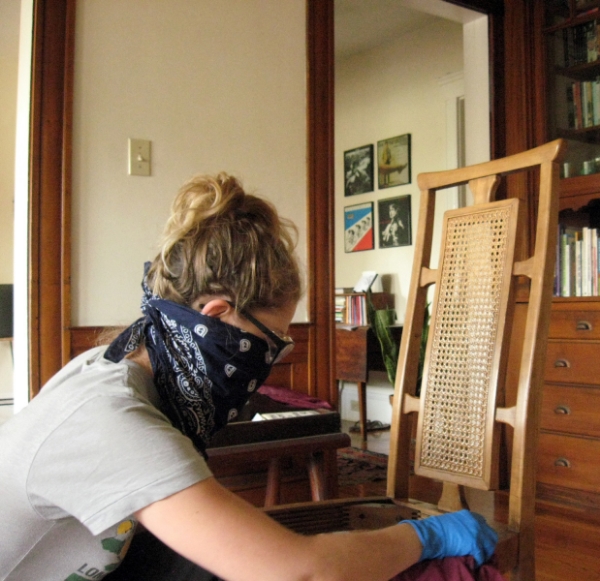
After many, many, many hours of sanding and messing around with goopy chemicals, I met my goal and self-imposed Sunday deadline for finishing the chairs! (Sort of!)
If my life was a movie — which I often imagine it is — there would have been a perfectly lit closeup of me, carefully blowing away the last bit of sawdust from my pristine, gorgeous, smooth-as-silk dining room chairs. I'd wipe my brow and tuck back an errant strand of not-frizzy hair that had escaped from my gorgeously messy ponytail, stand up, and survey my work. As the chorus of We Are the Champions filtered in, I'd look on in pride at all that I had accomplished.
Instead, what happened was that my hands had cramped up so much from sanding in all the little crevices and corners that that I said fuck it and called it a day. And then proceeded to clean the entire dining room and put everything back into a semblance of order. And then collapsed.
The good news is that I did pretty much finish. There might be a few bits here and there that need additional sanding, but that will require the light of day for me to spot; and I'm still going to try to lighten the caning a bit, but that is it! No more power sander! No more beating the sawdust out of my clothes so furiously that I accidentally drop items off the front balcony and into the bushes! No more swallowing and inhaling sawdust! Probably!
It's important to note that I wouldn't have finished as much as I did without the last-minute help of a recently-returned-from-Alaska Nathan. Unlike Andy, who has mastered the art of retreating to his room and/or making excuses about hardware store phobias, Nathan is for some reason always willing to entertain my crazy project ideas. And, more often than not, he'll even pitch in — without me asking, I swear! (Honestly, the depth of his generosity is a little baffling. I imagine it can be attributed to his rural upbringing and overall Gentle Giant demeanor.)
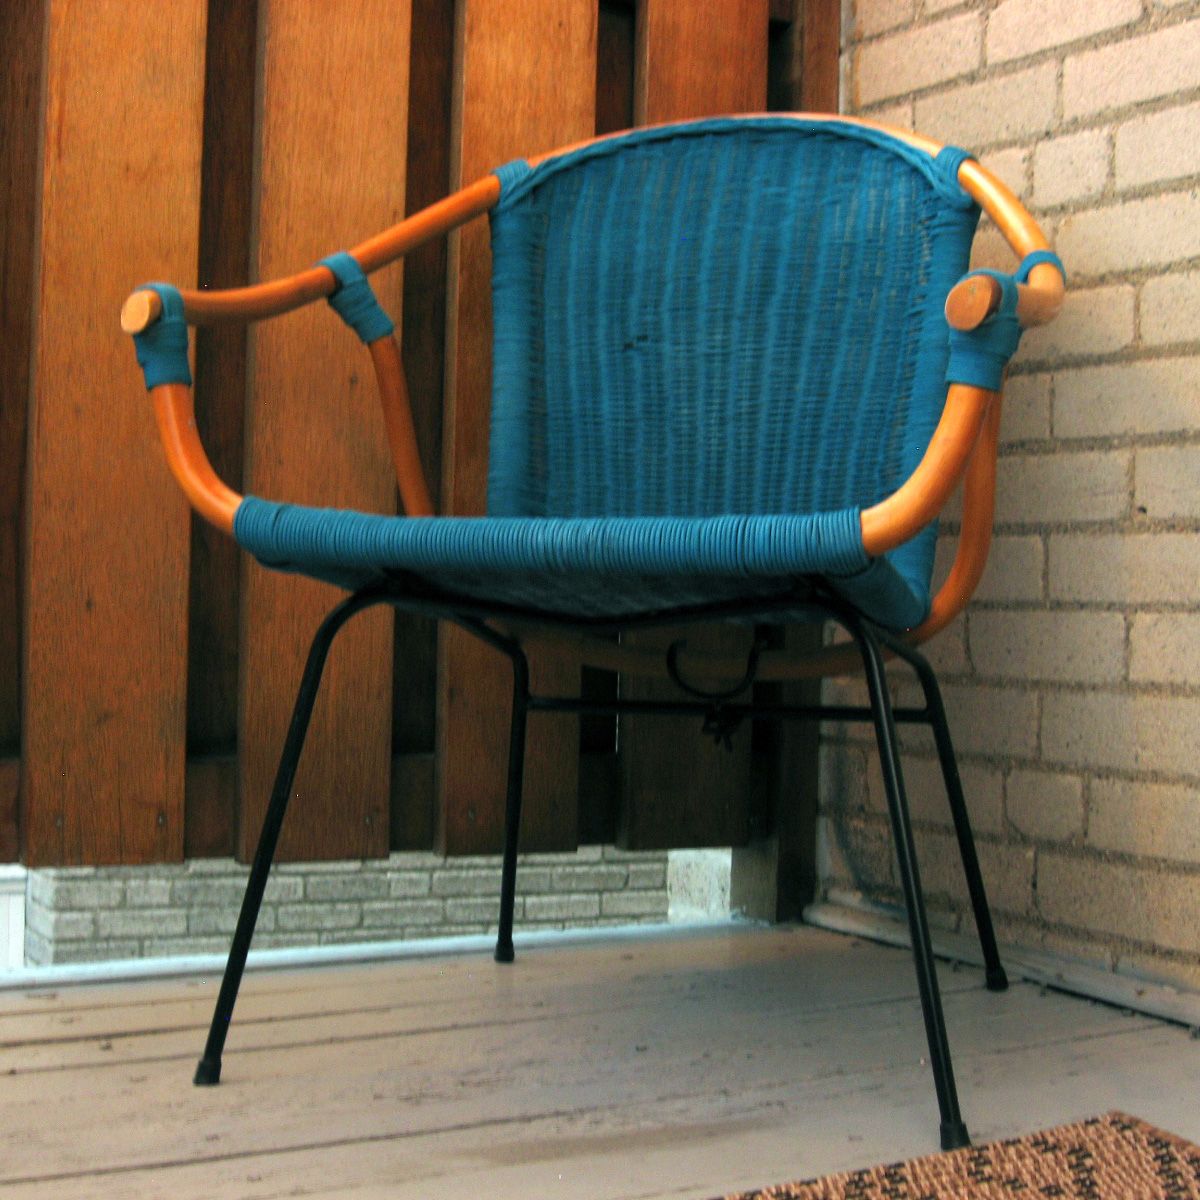
So, huzzah. I'm done. Mostly. Pictures to come when I actually find myself at home while the sun is still shining.
Of course, the manual labor might be done, but the hard work is still to come:

CHOOSING UPHOLSTERY!